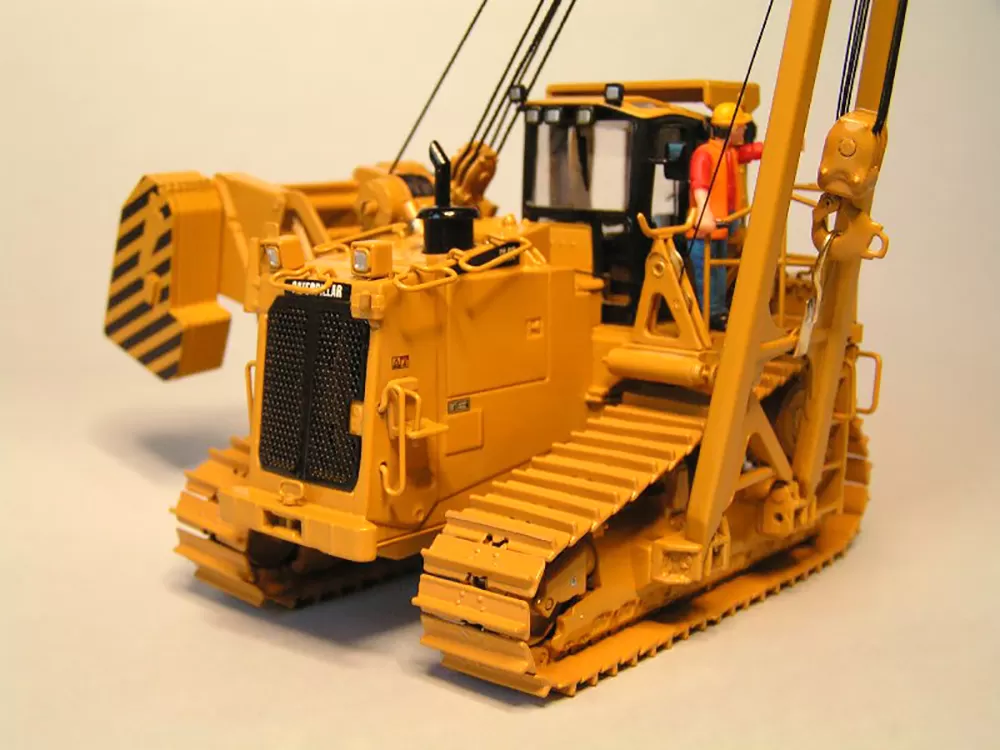
Despite the strict quality control of CCM at the Caterpillar PL87 Pipelayer it turns out that on some models the metal tracks incorrectly fitted. It was a big shock to find some of these models in our shipment.
In good consultation with CCM, Ad Gevers made this photo reportage with the Track Repair Instructions to show you that it is possible, to safely and without damage to the model, to undo this mistake.
First, we show you how what you should NOT do and then we explain how you can, still quite simply, dismantle the metal tracks and put them back on in the right direction on your Caterpillar PL87 Pipelayer.
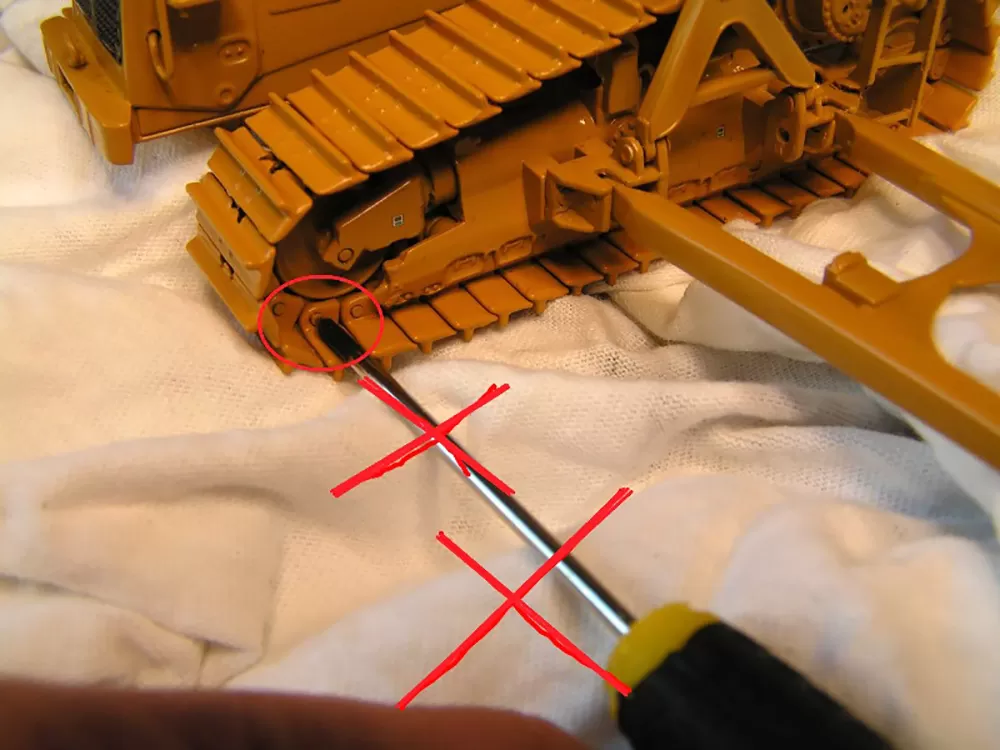
FAULT!
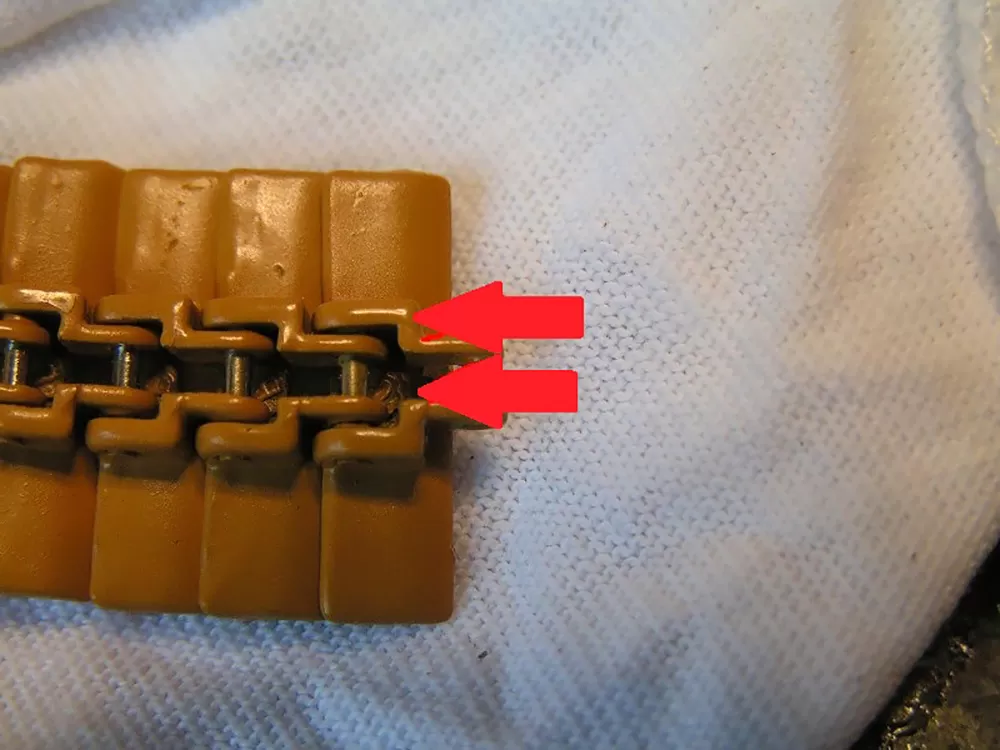
The easiest way is not always the best! So do NOT try to tap the small pin, which links two different track together, from the OUTSIDE to the INSIDE direction. This is going to be very difficult and gives a significant risk of permanent damage to the tracks.
The reason is that the small pin at the outer side is made thicker and is thereby If you start tapping (and use too much force) the pen jams and you will certainly damage the track links, making them crack or even burst.
DO NOT DO SO!
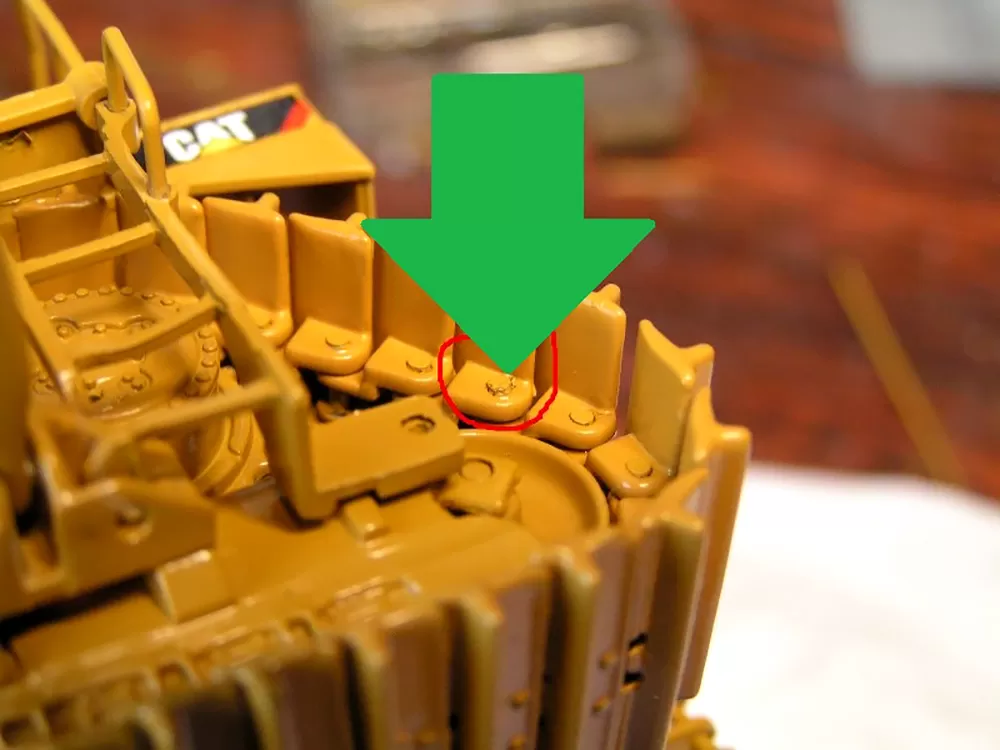
CORRECT!
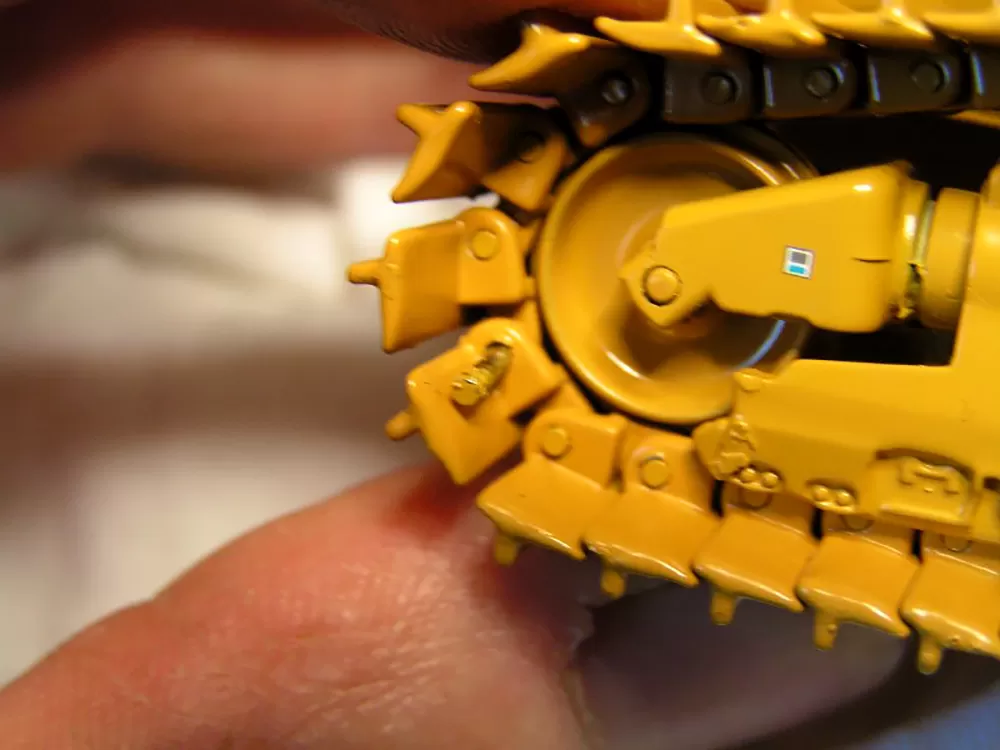
Lay your Caterpillar PL87 Pipelayer scale model before start carefully on a soft cloth or cushion so the top of the scale model will not be damaged if you will be working.
Then search for track track to a link where the tracks pin that binds the separate tracks together, slightly more sticks outwardly than the others. Run the entire track until the selected track link pin reaches with the front wheel for the necessary support and workspace.
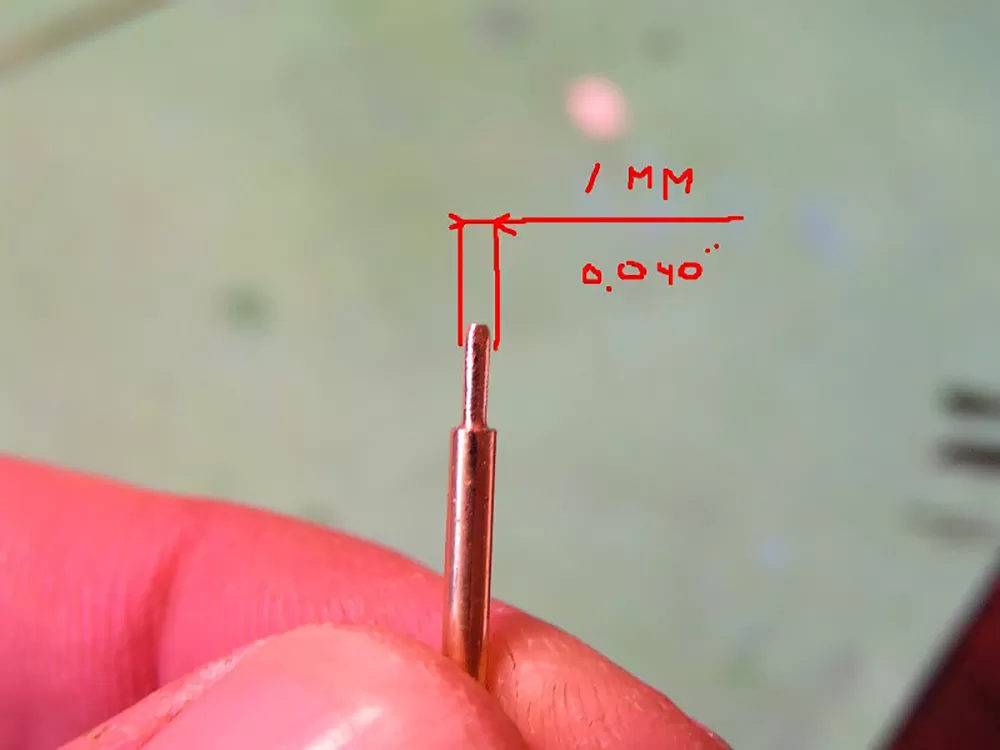
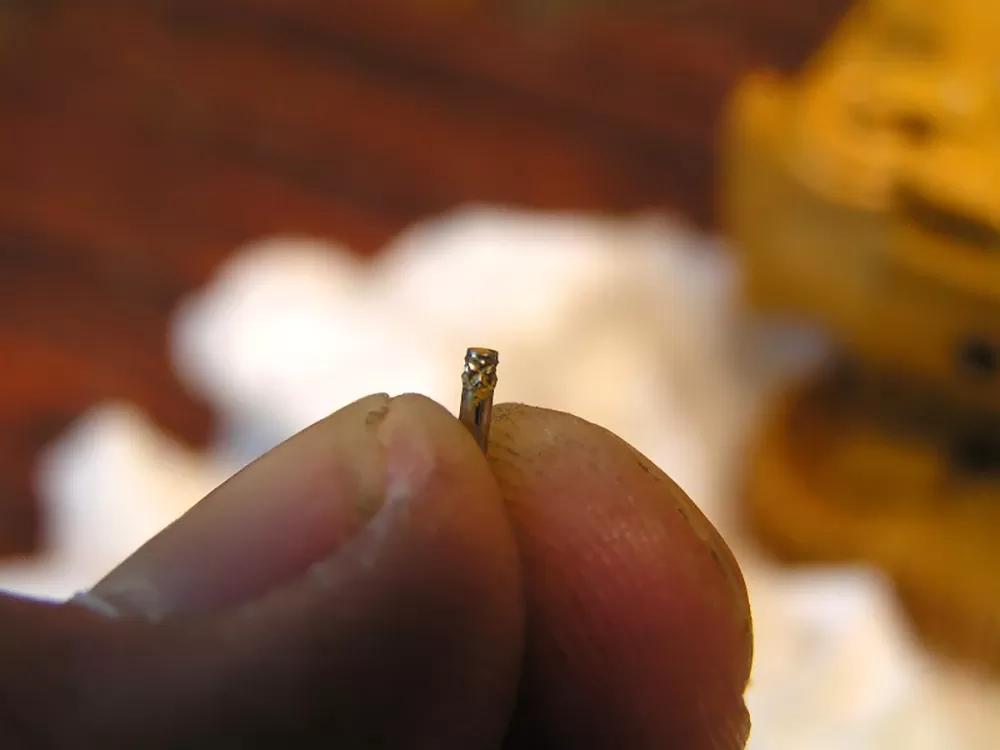
Then make a simple Work tool: a metal rod with a tip of 1 mm thick to tap the pin from the INSIDE to the OUTSIDE direction.
Make your Work tool in its entirety so long that you can easily tap without touching the scale model to prevent any damage during the taps.
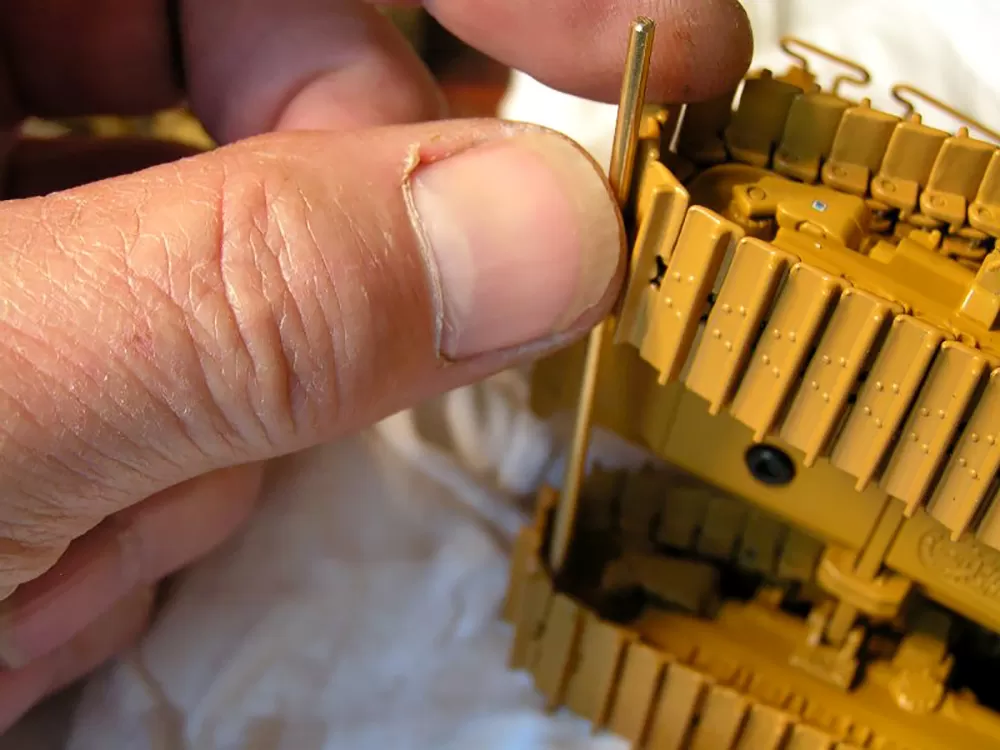
The pin will move now easily and without difficulty. You can now see that the pin on the end is somewhat jagged and therefore thicker, so when you would attempt tapping from the outside the pen only gets jammed.
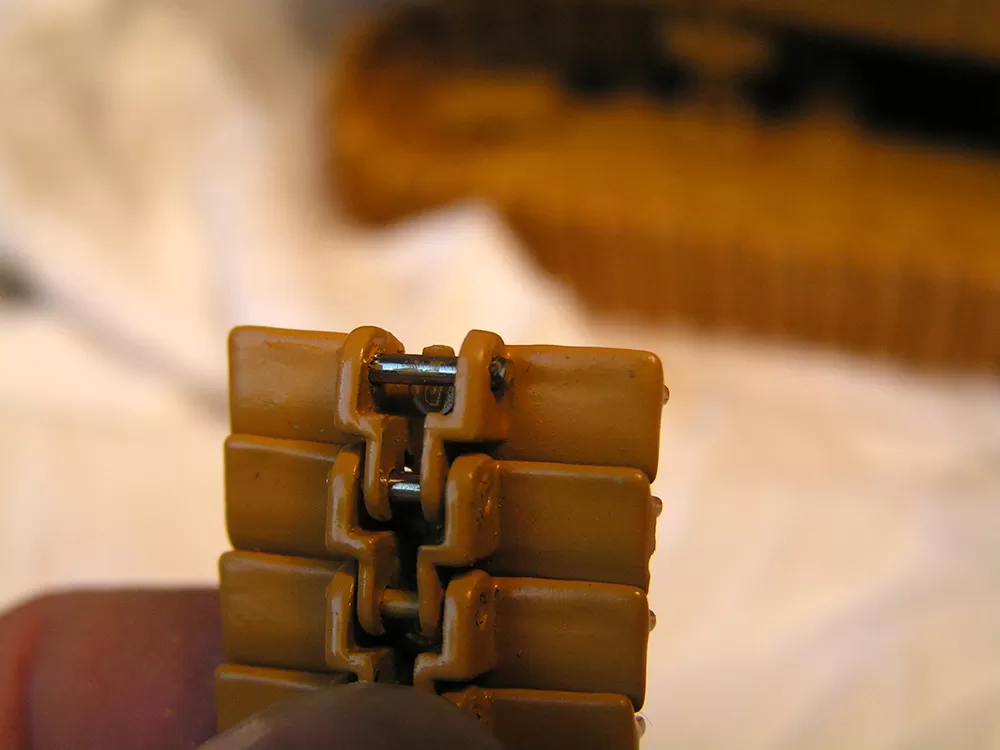
Before refitting the pin its useful to just remove all the paint from the pin. Because the thicker part of the pin, after reversing the tracks, now from the other side of the track link goes it, is advisable just to test if he easily fits.
Last step: mount the entire track now in the good run direction on the scale model and finally tap the pin in to its position to make the track complete again.
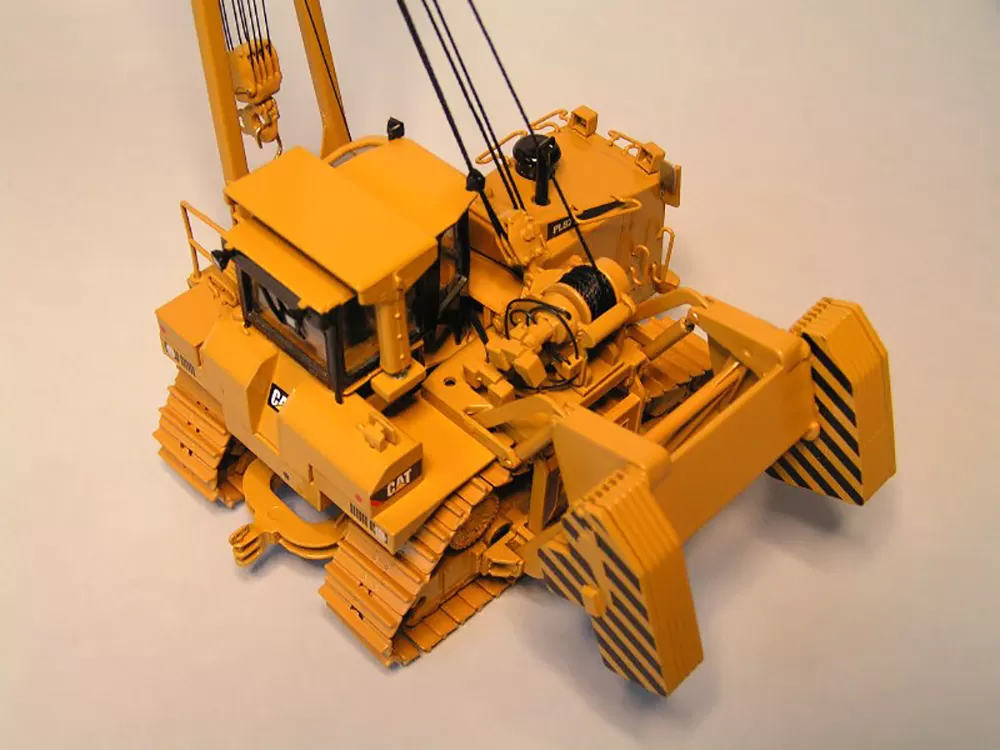
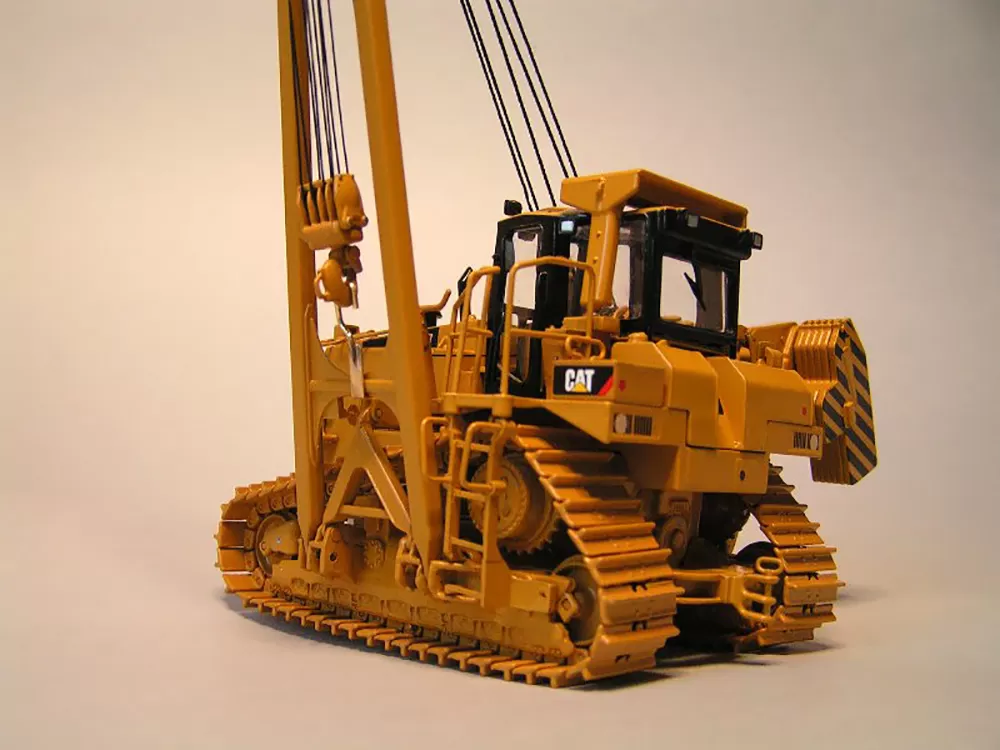
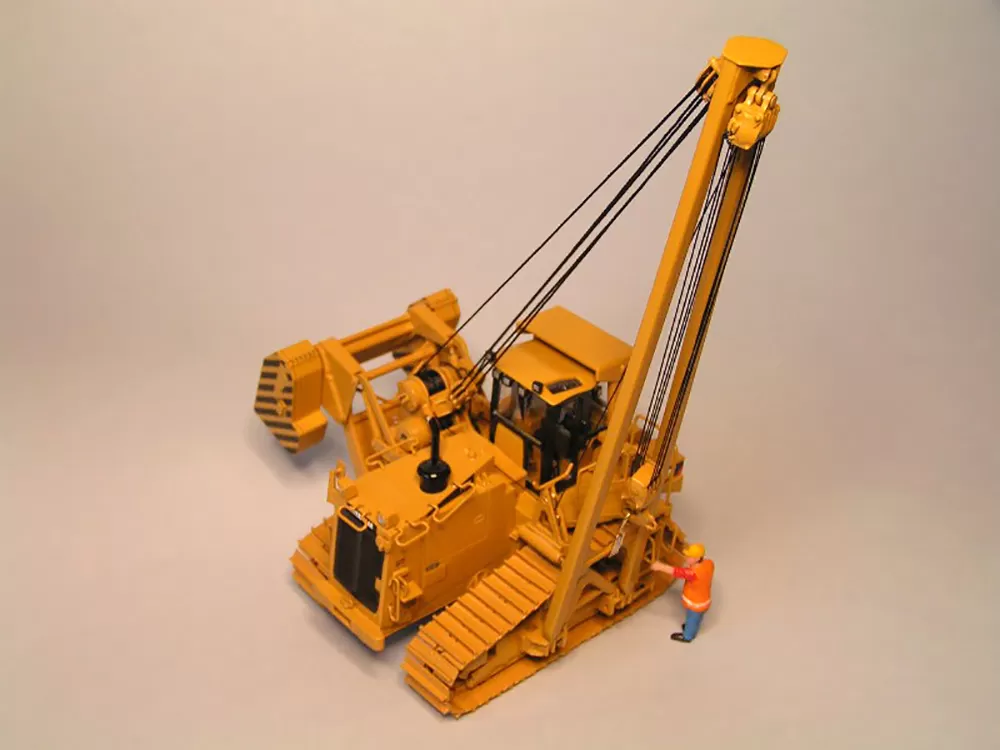
Now you can sit back, relax and enjoy a magnificent scale model!
Even after a few days we see every time new details, too many to mention. Overall a perfect scale model when the first shock are obtained.
Good luck!
Ad and Wouter